Note: These instructions are for users of Microsoft Visual Studio 6. For a quick start to using XLL+ with Microsoft Visual Studio .NET or Visual Studio 2005, click here.
After you have installed XLL+, follow these instructions for the quickest possible introduction to using XLL+. You can find out more about any of the steps by clicking on the "More..." links.
- Start Microsoft DevStudio 6
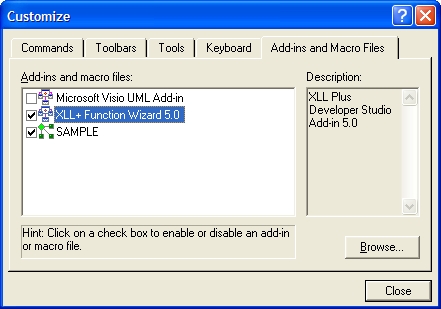
- Use Tools - Customize - Add-ins & Macro files to register the add-in
XLL+ Function Wizard 4.2. (You only need to do this once.)
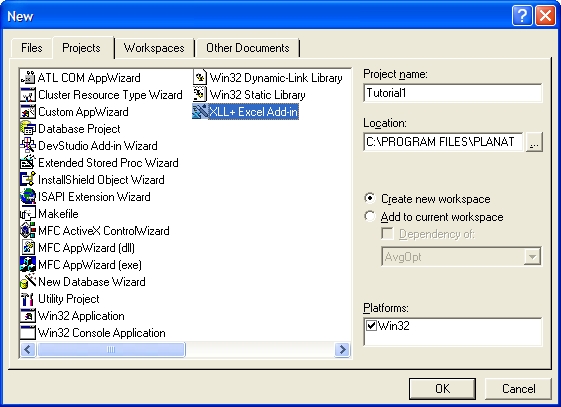
- Use the XLL+ AppWizard to create a new project.
Accept all the default choices in the Wizard's pages.
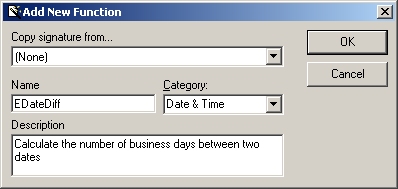
- Use the New XLL+ Function tool to create a new add-in function.

Fill in the function's name and description, and press OK.
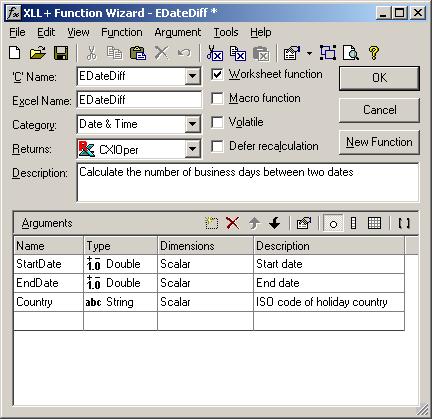
- In the XLL+ Function Wizard, add the names types and
descriptions of your function's arguments, and press OK.
- In DevStudio, add your own code to the skeleton generated by the Wizard,
then build and test your project. For example,
you might add the line of code shown below:
extern "C" __declspec( dllexport )
LPXLOPER EDateDiff(double StartDate, double EndDate, const char*
    Country)
{
    CXlOper xloResult;
//}}XLP_SRC

    // TODO - Set the value of xloResult
    xloResult = 99.9;
    return xloResult.Ret();
}
For a more thorough introduction to XLL+, read through the rest of the topics in the Basic features section.
Next: Quick start for Visual Studio .NET & Visual Studio 2005 >>