You can choose one of three ways to select the language used for error messages.
- Always in English. This is the default behavior of projects generated by the XLL+ AppWizard, and no further action needs to be taken.
-
Always in a language other than English. You will need to edit the
application's resource file to include the message file for your
chosen language, instead of the standard English version (
xlpres.rc). See Selecting a single language below. - In the language of the user. You will need to edit the application's resource file to include either a list of message files for specific languages or a single message file that includes all available languages. See Selecting multiple languages below.
Message files
Message files are located in the XLL+ include directory,
and have names in the form xlpresLLCC,
where LL
is a language code, e.g. fr for french, and
CC is a country code, e.g. fr
for France. Thus the message file for French (France) will be
xlpresfrfr.rc.
The message file for English (US) is named xlpres.rc,
and is used by default in new XLL+ projects.
The message file for your preferred languge may not be available. Visit our web-site at http://www.planatechsolutions.com/xllplus/resources.htm for an up-to-date list of available languages.
If you wish to create your own message file, see the instructions for Creating your own message file below.
Selecting a single language
First, locate the message file for your chosen language.
Next, use Visual Studio to edit the resource file for your application.
-
Locate the resource file
[ProjectName].rcin the "Resource Files" folder in Solution Explorer: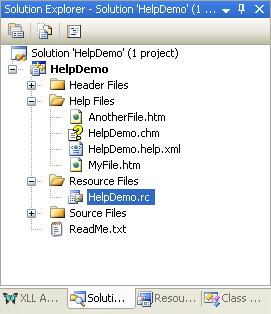
-
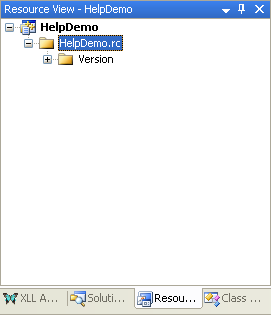
Open the resource file, which will appear in the Resource View:
-
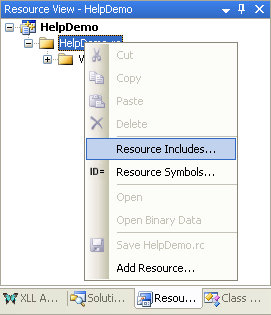
Select the resource file node, and use the right-mouse menu command "Resource Includes...".
-
In the Resource Includes window, edit the "Compile-time directives" box to include your chosen message file:
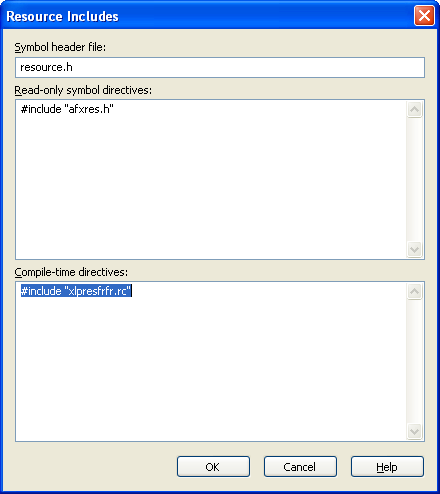
The changes will take effect the next time that you build the project.
Selecting multiple languages
Use Visual Studio to edit your project resource file, following steps 1 to 3 described in "Selecting a single language" above.
For the final step, you can choose to include a specific set of message files, e.g.:

Or you can use the global message file xlpresall.rc
to include all available languages:

Creating your own message file
Save a copy of xlpres.rc, with the name for your chosen
language and country.
Change the directives shown in bold below to refer to the build setting for your language, by changing to the settings you would find in a newly created resource file for your language, e.g.:
 CopyC++
#if !defined(AFX_RESOURCE_DLL) || defined(AFX_TARG_DEU)
#ifdef _WIN32
LANGUAGE LANG_GERMAN, SUBLANG_NEUTRAL
#pragma code_page(1252)
#endif //_WIN32
In the STRINGTABLE section, translate the quoted string
on each line to your chosen language.
Strings may contain substitution symbols, such as {0}
or {1}. These represent sub-strings that will be
inserted into the string by the XLL+ run-time libraries.
It is essential that all substitution symbols are retained
in the translated string, and that no new substitution symbols are added.
A complete list of all messages, along with descriptions of their use and arguments, can be found in the reference guide here.