Before we can start writing Excel add-ins, we need a Visual Studio project that will contain the make file and all the necessary framework code for an Excel add-in. We can use the XLL+ AppWizard to create a Visual Studio project that contains all the necessary files, and is ready to build and run.
For more details about the XLL+ AppWizard, see XLL+ AppWizard help.
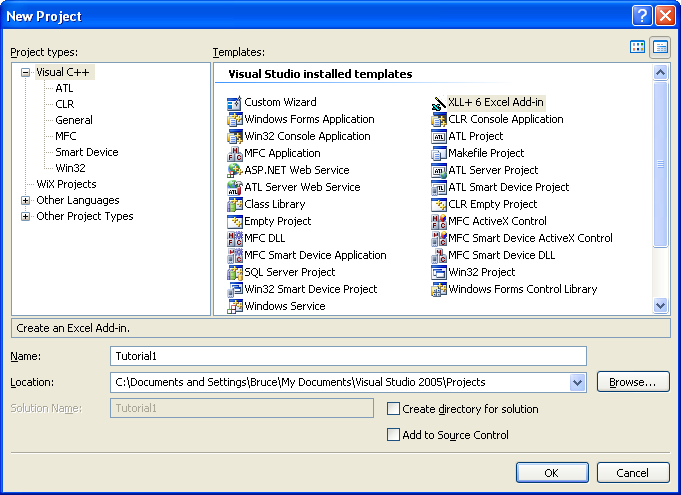
New Project Dialog
In Visual Studio, click on File - New - Project (Shift+Ctrl+N) to bring up the New Project dialog. and select Visual C++ in the "Project types" pane. Out of the list of new project types, select XLL+ 6 Excel Add-in as shown in the picture below.
It is also a good idea to clear the check-box marked "Create directory for solution".
Type Tutorial1 in the project name field and click OK.
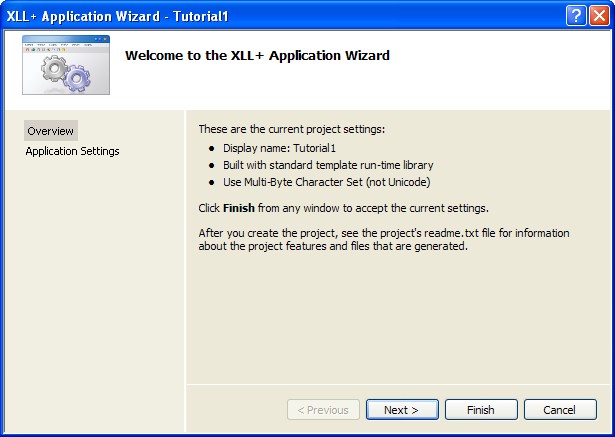
AppWizard - Overview
Note: The first time that you run the XLL+ AppWizard, you may notice a significant delay while the first page of the AppWizard appears. This is happening because the XLL+ project system is initializing for the first time, and is checking that the installation of XLL+ is complete and correct.
The first page of the XLL+ AppWizard describes the current settings and features for the project. Click Next to make some changes to the settings.
AppWizard - Application Settings
In the Application Settings page, type in XLL+ Tutorial as the XLL friendly name.
(This is the text that will appear in the Excel Tools - Add-Ins dialog. Don't worry if you can't think of the perfect name when you're creating your project - you can always change it later.)
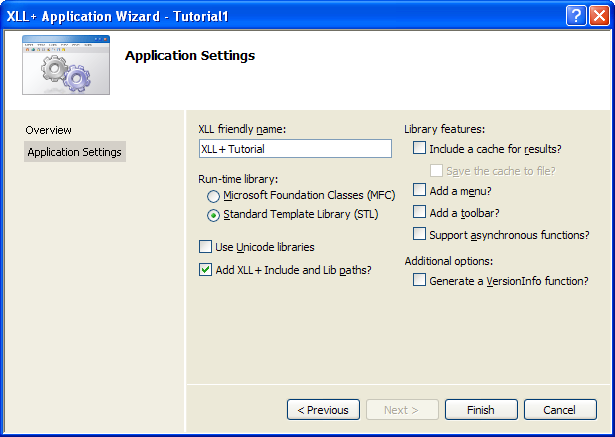
Then click on Finish to accept the defaults.
Now we have created an XLL+ add-in project, we can start adding useful functions to it.