Note: These instructions are for users of Microsoft Visual Studio .NET or Visual Studio 2005. For instruction on creating a project with Microsoft Visual Studio 6, click here.
Before we can start writing Excel add-ins, we need a DevStudio project that will contain the make file and all the necessary framework code for an Excel add-in. We can use the XLL+ AppWizard to create a DevStudio project that contains all the necessary files, and is ready to build and run.
For more details about the XLL+ AppWizard, see XLL+ AppWizard help.
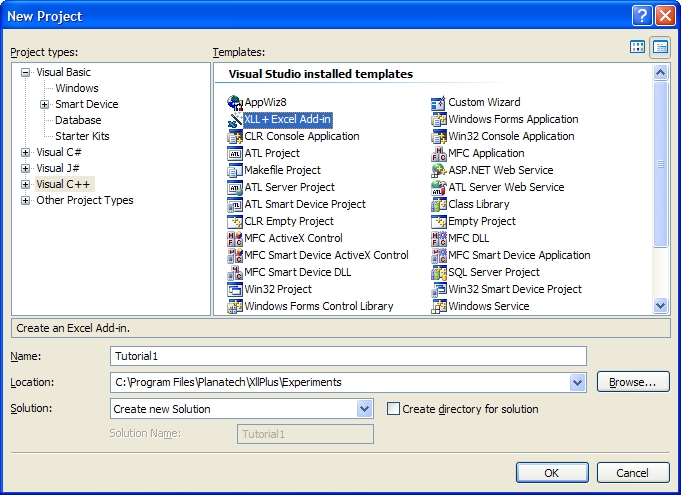
New Project Dialog
In DevStudio, click on File - New - Project (Shift+Ctrl+N) to bring up the New Project dialog. and select Visual C++ in the "Project types" pane. Out of the list of new project types, select XLL+ Excel Add-in as shown in the picture below. Type Tutorial1 in the project name field and click OK.
AppWizard
In XLL+ AppWizard, type in XLL+ Tutorial as the XLL friendly name.
(This is the text that will appear in the Excel Tools - Add-Ins dialog. Don't worry if you can't think of the perfect name when you're creating your project - you can always change it later.)
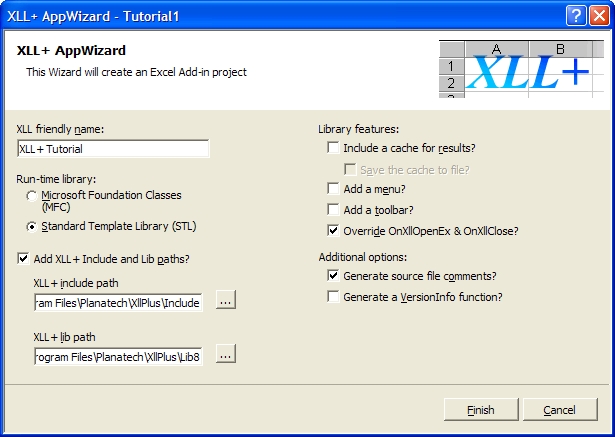
Then click on Finish to accept the defaults.
Now we have created an XLL+ add-in project, we can start adding useful functions to it.