Once you have added the assembly reference to your project, open the main C++ source file of your add-in project and use the Tools/Import Assemblies... command from the XLL AddIns window to display the Imported Assemblies Window.
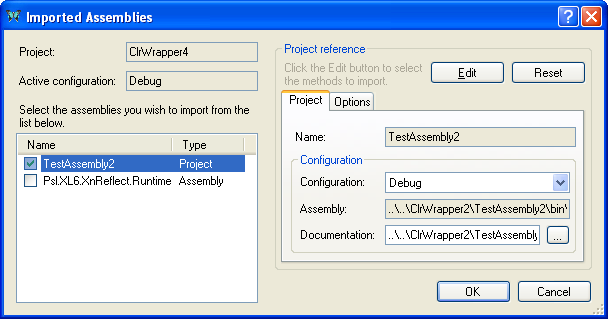
All the .NET references for your project will be listed on the left hand side of the wizard. Put a check against each assembly for which you want to generate wrappers.
For an assembly reference, if you have been provided with a configuration file for the .NET assembly, and it is not in the same directory as the DLL, then you should use the "Documentation" field to navigate to the file.
If you select an assembly to be imported,
the tool will update your project settings, adding
2 new files. One is a control file, [assembly-name].import.xml,
which will be used by the code generator,
and the other is the generated C++ file,
[assembly-name]_Wrappers.cpp,
which will contain the wrapper functions.
Once you have put a check next to an assembly, use the Edit button to select which methods and properties will be exported as XLL add-in functions.