Use the XLL+ Wrapper Project Wizard to create the XLL wrapper project.
Creating a wrapper project
-
Open an XLL+ add-in project.
-
In the Project Explorer, right-click on the Solution node, and select Add/New Project....
Add New Project to Solution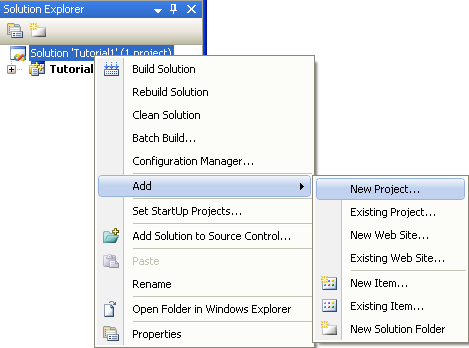
-
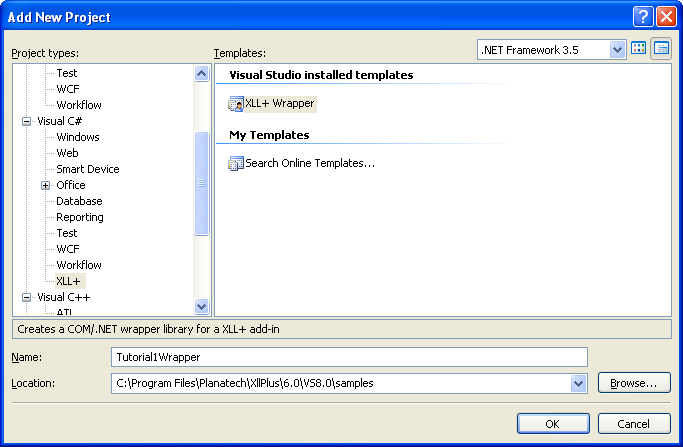
In the Add New Project dialog, select the Visual C#/XLL+ node in the Project Types tree, and select XLL+ Wrapper in the Templates list.
Name the project and click OK.
-
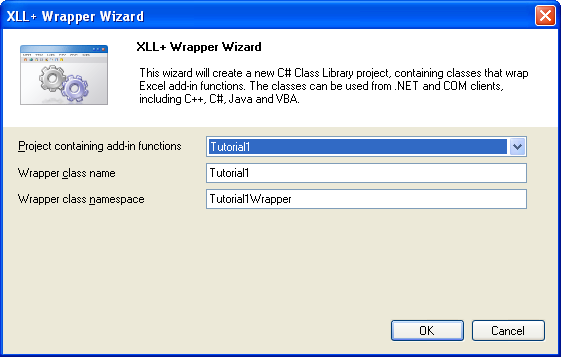
In the XLL+ Wrapper Wizard, eneter your preferred names for the wrapper class and its namespace, and click OK.
-
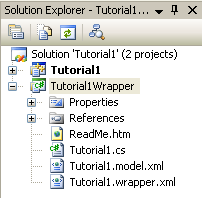
You will see that a new project, containing one C# file and two XML files, has been created and added to the solution.
The next step is to save a Model file.