Note: These instructions are for users of Microsoft Visual Studio 6. For instructions on building a project under Microsoft Visual Studio .NET or Visual Studio 2005, click here.
To test the function under the DevStudio debugger, follow the steps in the following sections.
Note: If you are already familiar with debugging Excel add-ins under DevStudio, jump to the next chapter.
Build the debug version
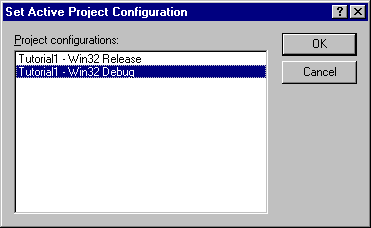
To build the Debug version, use DevStudio's Build - Set Active Configuration menu option and select the Debug configuration, as shown below:
Then press the F7 key (or use the Build - Build XllTut1.xll menu option) to build the project.
Setting the Debug Executable
To set Excel to be the debug executable, select the Project - Settings... menu option (or press Alt+F7) and select the Debug tab. Fill in the path to Excel as below (your path may differ) and click OK.

Start Excel
Press F5 (or use the Build - Start Debug - Go menu option) to start Excel.
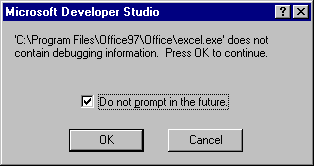
The first time you do this, the following dialog will appear. Be sure to check the box (as shown below) to stop it appearing again.