Now we are going to use the Function Wizard to create a function with a matrix argument.
Create the function
Use the New XLL+ Function tool to create a new function. Set the function's properties as follows:
Name: INTERP2D Category: Statistical Description: Interpolate in a two-dimensional array
Add an argument as follows. (Hint: You can use Ctrl+1 to set an argument to be a vector, instead of using the vector tool-button.)
Name: X Type: Double Dimensions: Vector Description: Ordered vector of X values
Copy the argument
The next argument is very similar, so now is a good time to use the clipboard to copy an argument, and save yourself some typing. Make sure the active cell in the arguments grid is in the row containing X. Click on the Copy Argument tool.

Now we have a copy of the argument in the system clipboard. Next, use the Paste Argument tool to insert a copy of the argument.

This will insert a new argument, X2, after X. You'll need to change the name, and make a slight change to the description.
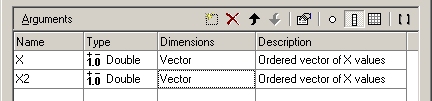
Edit the argument so that the columns are as follows:
Name: Y Type: Double Dimensions: Vector Description: Ordered vector of Y values
Add a matrix argument
Add a new argument Z and use the matrix tool to change it to a 2-dimensional argument. (Alternatively, you can use Ctrl+2 as a short-cut.)

Fill in the fields of Z as follows:
Name: Z Type: Double Dimensions: Matrix Description: Matrix of Z values
Add the rest of the arguments
Add the remaining arguments, as shown below. You may find it convenient to use the copy and paste argument commands to enter InterpY.
Name: InterpX Type: Double Dimensions: Scalar Description: X value at interpolation point
Name: InterpY Type: Double Dimensions: Scalar Description: Y value at interpolation point
When you've finished, the Function Wizard should look like this:
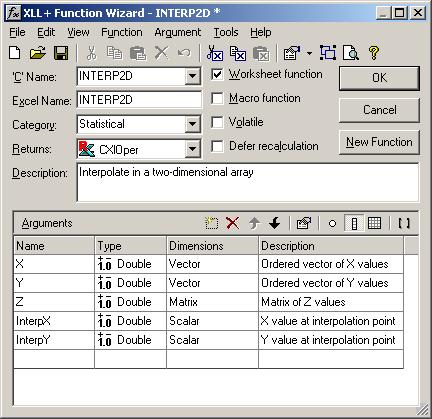
Click on the OK button to dismiss the Wizard and update the source code.